Composting at Home
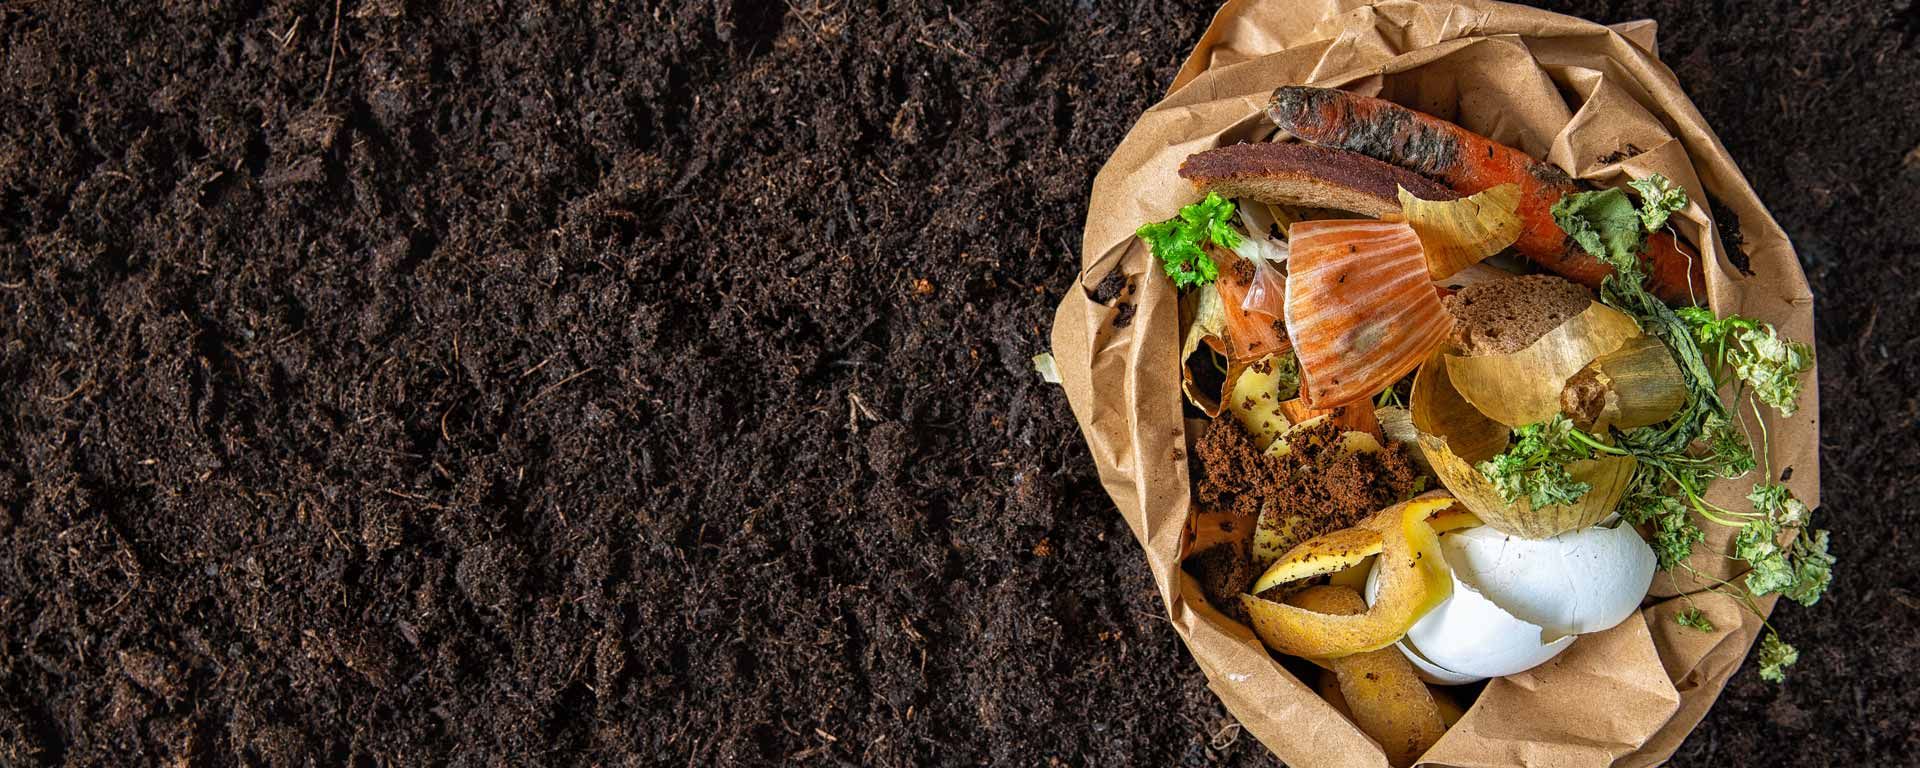
Composting is a form of recycling where food scraps, yard waste, and food-soiled paper are turned into a nutrient-dense soil amendment, rather than being sent to the landfill where they decompose in a manner that results in climate change-causing emissions.
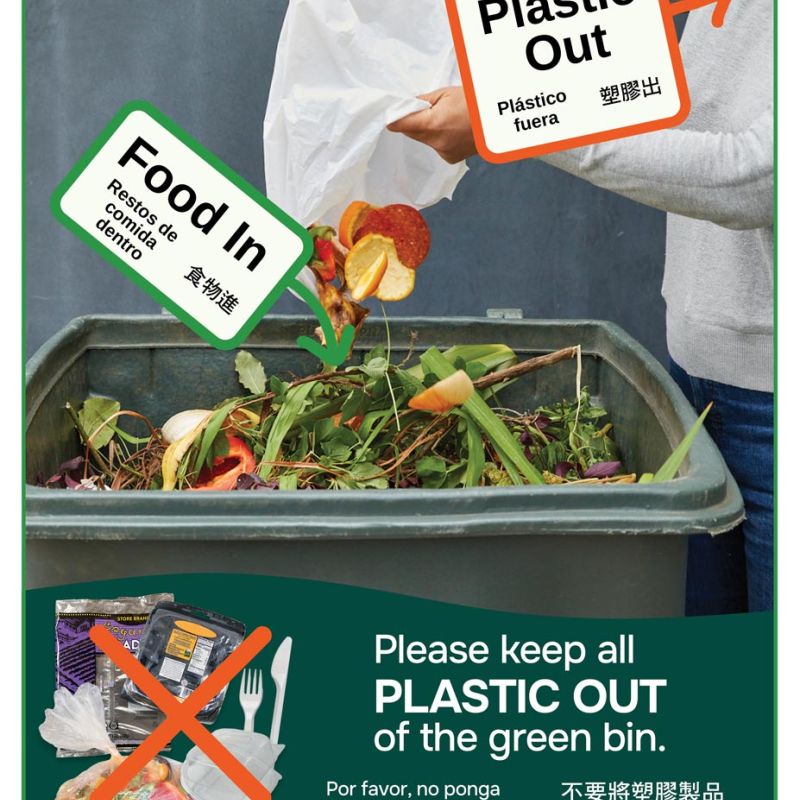
Whether you compost in your home or yard or use your hauler’s curbside green bin, composting is one of the simplest ways that you and your household can take action to combat climate change. Below are some tips on how you can start composting today!
Examples of Composting at Home
Backyard Composting
Backyard composting involves piling up organic waste, and then maintaining that pile while micro- and macro-organisms break down the organic materials, resulting in healthy, nutrient-rich compost that you can use on your garden! Read our FAQs below for more information on how to compost in your backyard.
Many people prefer a holding bin to keep composting piles confined to a smaller space. Keep the bin 4 feet or lower for easy access for turning or purchase a compost tumbler or barrel. Your bin should be stationed on a level, well–drained surface at least two feet away from any fence or structure, with easy access to water.
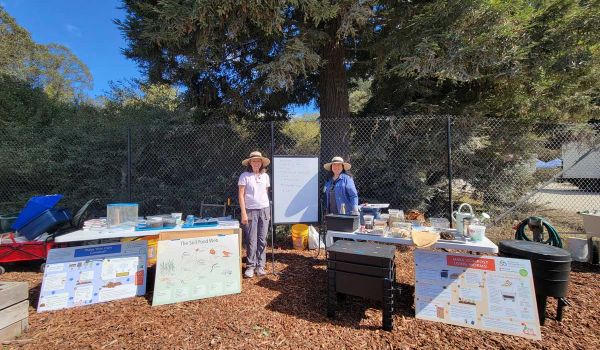
You can get a rebate for building your own bin (PDF) from the County of San Mateo Sustainability Department! Here are directions to build your own stackable bin (PDF) or 3-bin system. If you attend a composting workshop, you will receive a discounted compost or worm bin. Only one rebate OR discount per household or business located in San Mateo County.
Add approximately 60% browns to 40% greens. Chopping up material into smaller sizes increases the surface area for bacteria to work.
Greens are materials such as grass clippings, coffee grounds, fruit, vegetables, eggshells, hair, feathers, grains.
Browns are leaves, straw, untreated sawdust, newspaper, paper plates, paper towels and napkins, cereal boxes, dried plant material.
Turning or mixing the pile periodically has many benefits, including:
- Adding oxygen
- Breaking up compacted material
- Helping to destroy unwanted disease
- Helping to maintain beneficial microbes
- Helping to maintain an optimal temperature (between 100-160°F). Thermophilic bacteria are the fastest at turning material into compost and prefer temperatures in the 105–140°F range.
When mixing, use a turning fork to turn the material from the outer edges to the center, where the pile will be hottest.
Add water as you build the pile to evenly distribute moisture throughout. Keep as moist as possible – microbes require moisture to survive.
Compost is finished and ready for use when the material in the pile is dark brown and has a crumbly feel. It will smell earthy, like a forest floor. It is important to note that not all material decomposes at the same rate. Use a screen to separate any large material that is left and place the larger pieces back into the pile.
Use it as soil conditioner, top dressing, mulch, or potting mixture.
Worm Composting
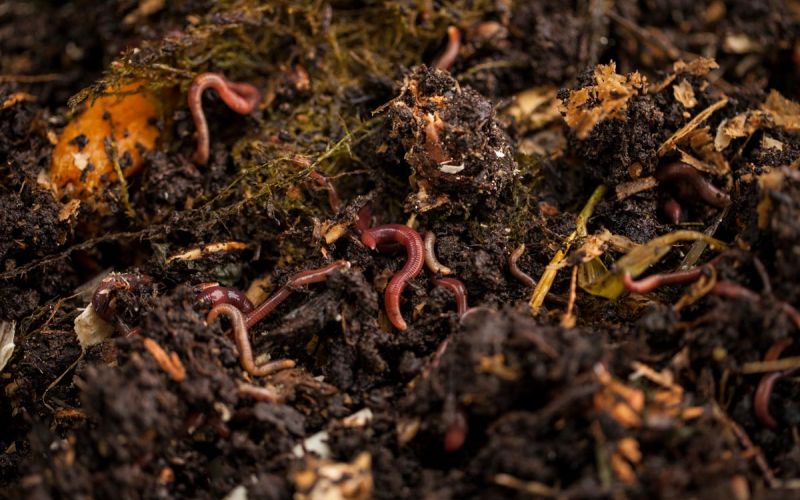
Worm composting produces vermicompost: a nutrient-rich material that can be used as a concentrated soil amendment. Worm composting is a great option if space is limited (e.g. you live in a condo or apartment), you don’t have a backyard, or you don’t have materials other than food scraps.
The worms best suited for a worm bin are red wrigglers. They live close to the surface of the ground, process large amounts of organic material, reproduce quickly, and tolerate a wide range of temperatures (they are happiest at temperatures between 59-77°F), acidity, and moisture conditions.
You can purchase a bin online, build your own wooden bin, or purchase a plastic container with a lid and make a bin. Whichever bin you choose, your worms will need a shallow place to live in that allows plenty of air to circulate.
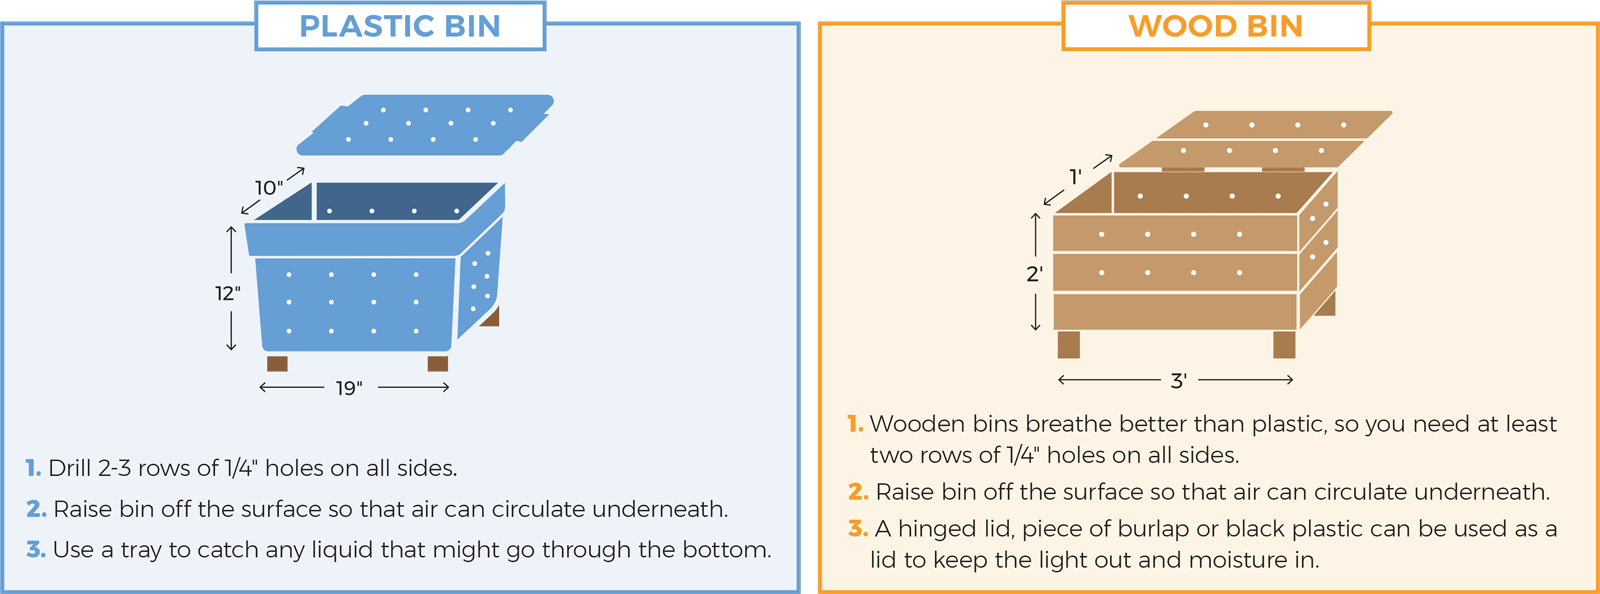
If you have a plastic bin, drill 2-3 rows of ¼” holes on all sides and raise the bin off the surface so air can circulate underneath. Place a tray under the bin to catch any liquid that seeps through the bottom.
If you have a wood bin, drill at least 2 roes of ¼” holes on all sides and raise the bin above the surface so that air can circulate underneath. A hinged lid, or piece of burlap or black plastic can be used as a lid to keep light out and moisture in.
Your worm bin must be protected from direct rain, sun and/or excessive cold. Your bin can be placed indoors (there should be no odor, so you don’t need to worry about it being inside) or if you prefer, put it in a sheltered outdoor location such as a shed, garage, carport or balcony.
Select foods that are suitable for worms including most fruits, vegetables, cereals and grains, and other organic items like cardboard and tea bags. It is best to cut food scraps into small pieces before placing them in the bin. The smaller the pieces, the more surface area there is for bacteria to start breaking down the food, making it easier for the worms to consume. Keep shredded black and white newspaper over the food at all times. Newspaper or bedding helps keep the bin dark and moist and discourages fruit flies. Other organic material such as burlap or shredded cardboard or paperboard can also be used.
To feed the worms, place the food under the newspaper in a different part of the bin each time. Do not bury the food in the castings.
You can feed your worms fruit, vegetables, cereals and grains, as well as coffee filter paper, eggshells, tea bags (remove staples first) brown leaves, and dead flowers. Use caution when adding breads (can attract red mites), potato skins, onions, garlic, and ginger. Too many coffee grounds will make the bin acidic. Do NOT feed worms meat, poultry, fish, dairy, potato chips, candy, oils, and citrus.
Cut food scraps into small pieces before placing them in the compost bin. The smaller the pieces, the more surface area there is for bacteria to start breaking down the food, making it easier for the worms to consume.
Keep bedding over the food at all times. To feed the worms, place the food under the bedding in a different part of the bin each time. Do not bury the food in the castings.
Unlike other critters, worms don’t demand to be fed on a schedule. They can be fed once a day, every two to three days, or once a week. You can even go on vacation for a month without worrying about feeding them! Just give them a regular amount of food before you leave and place plenty of shredded paper, cardboard, and paperboard on top of the food.
Make sure you leave the bin in an area where the temperature will not get too hot (not over 90°F) and the cover material is wet enough that it will not dry out.
Happy worms will eat half their weight in food every day. When you get a few thousand worms living in a bin, food disappears rather quickly.
Feeding tip: Because worms have no teeth, they need to take in grit with their food. Rock dust or crushed oysters offer grit for their diet and can also help correct problems if you’ve added too much food to the bin. These can be purchased at most garden stores. Sprinkle a small amount on the food scraps once or twice a month. Pulverized eggshells are also an excellent source of grit. If you’re adding eggshells to your bin, you probably won’t need to purchase other types of grit.
Moldy food – If there’s too much food in the worm bin and the worms aren’t digesting it fast enough, the food might become moldy. Remove the moldy food as the worms are unlikely to eat it, and it makes the system vulnerable to infestations from other organisms.
Offensive odor – Make sure there is a generous amount of bedding placed over the food and stop feeding for a week. Add eggshells, rock dust, or crushed oyster shells.
Fruit flies – Add more bedding to cover the food, and ensure that all food is buried.
Worm castings, or worm compost, are generally too fine and dense to use as a growing medium. It is best to make a planting mix using the worm compost as the basic ingredient. A successful mix is equal parts of worm compost, coir, and course sand. This is a good mix for seed starter trays and cups
Pure worm compost can be used as a general soil conditioner for houseplant containers. Because of the concentration of nutrients, it can be used as a slow release soil amendment.
Worm compost can also be sifted onto lawns, spread around the bottom of vegetable plants, or worked into the soil arond shrubs and trees.
Your bedding may be too wet or too dry, leading to the worms trying to find a more suitable environment. If too dry, add more water to the bedding. If too wet, add more dry bedding.
Grasscycling
Grasscycling is as simple as leaving your grass clippings on the lawn.
Proper mowing is the key to grasscycling. Grass should be dry and the mower blades sharp. Almost any mower will work by raising the cutting height. If your mower has a collection bag, remove it to allow clippings to drop into the soil. However, if your mower does not have a safety flap covering the opening where the bag fits into the chute, or a plug for the chute, contact your local retailer to purchase a retrofit kit.
In the fast–growing season you may have to cut every seven days-but in the slower growing season you might only need to cut your lawn every 7–14 days. Do not cut more than 1/3 of the length of the grass blade at any one time. During a “wet season” or at a time your grass cannot be mowed as frequently as desired, you might have an excess of clippings. This is an excellent opportunity to put your clippings in a backyard compost pile.
Water in the early morning if possible. Do not over–water. Too much water will cause your lawn to develop shallow root systems. Water less frequently but deeper. Do not over–fertilize. Proper fertilization is important, however, over–fertilization can weaken a lawn by causing excessive growth. It is best to apply smaller quantities more frequently.
Common misconceptions about grasscycling, debunked!
- Grasscycling causes thatch buildup. Myth! Studies have shown that grass roots are the primary cause of thatch, not grass clippings. And, a small amount of thatch is actually beneficial. It serves as a mulch, preventing water evaporation and soil compaction.
- Grasscycling spreads lawn disease. Myth! The primary cause of disease spread is improper watering and fertilizing. If a disease is present, infestation will occur whether you are grasscycling or not.
- My lawn will look bad. Myth! Grasscycling will give you a healthier looking lawn if it is mowed, watered, and fertilized properly.


